Quick start guide
Hardware requirements
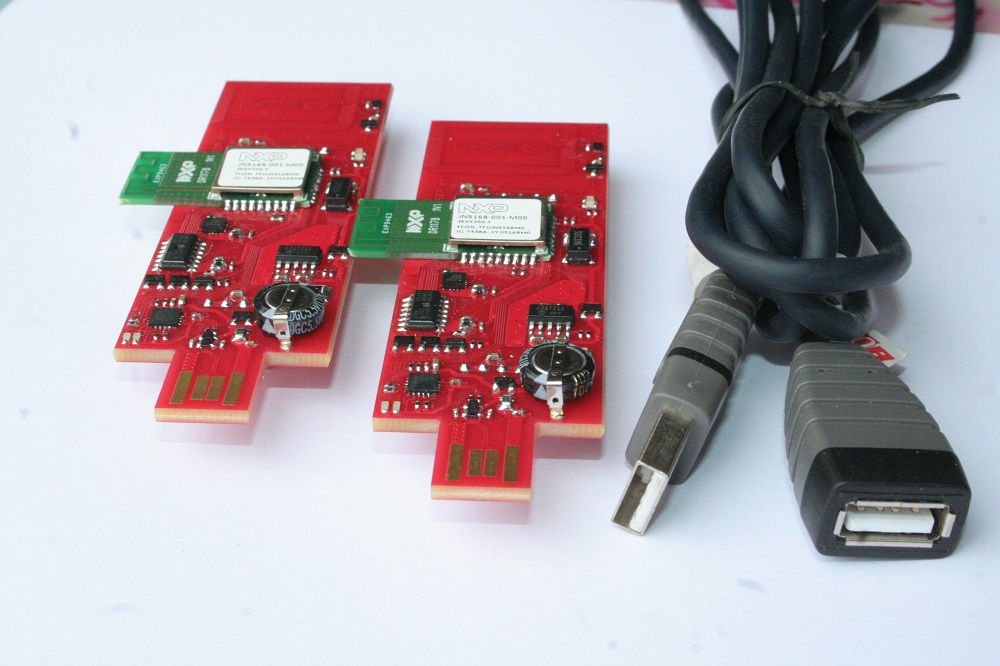
- Silica Rialto Board kit
- One or more USB type-A extension cable
- PC with terminal software (such as HyperTerminal)
Software requirements
- Jennic SDK toolchain (JN-SW-4041), JN5168 stack library (JN-SW-4065) and Flash GUI tool (JN-SW-4007)
- Rialto_Jennic firmware
- PC terminal emulator (such as HyperTerminal)
Note
Hardware setup
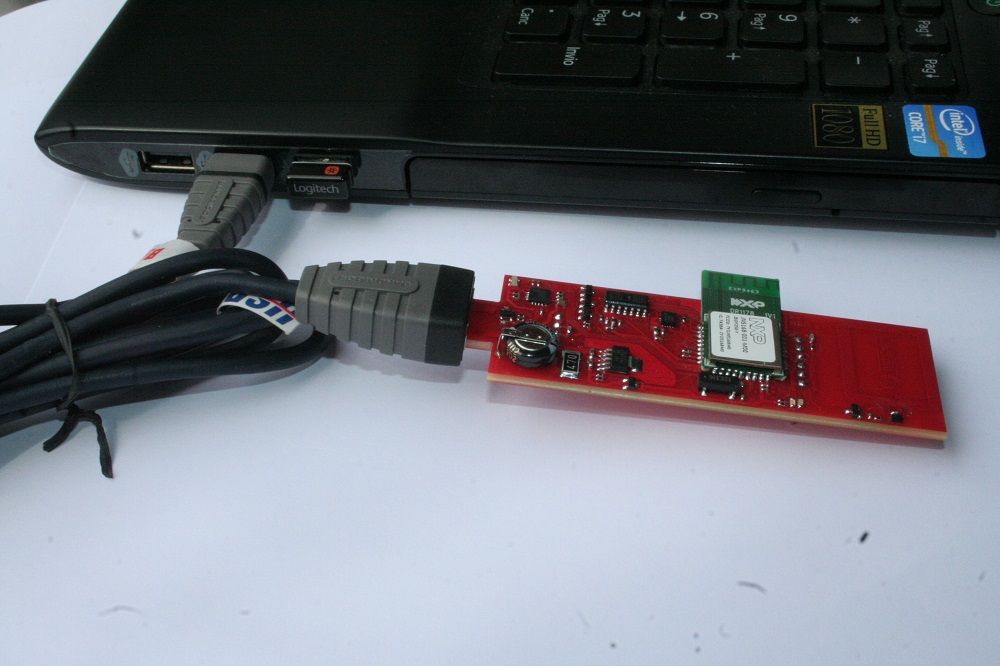
Plug Rialto Board into USB port (also using USB type-A extension cable)
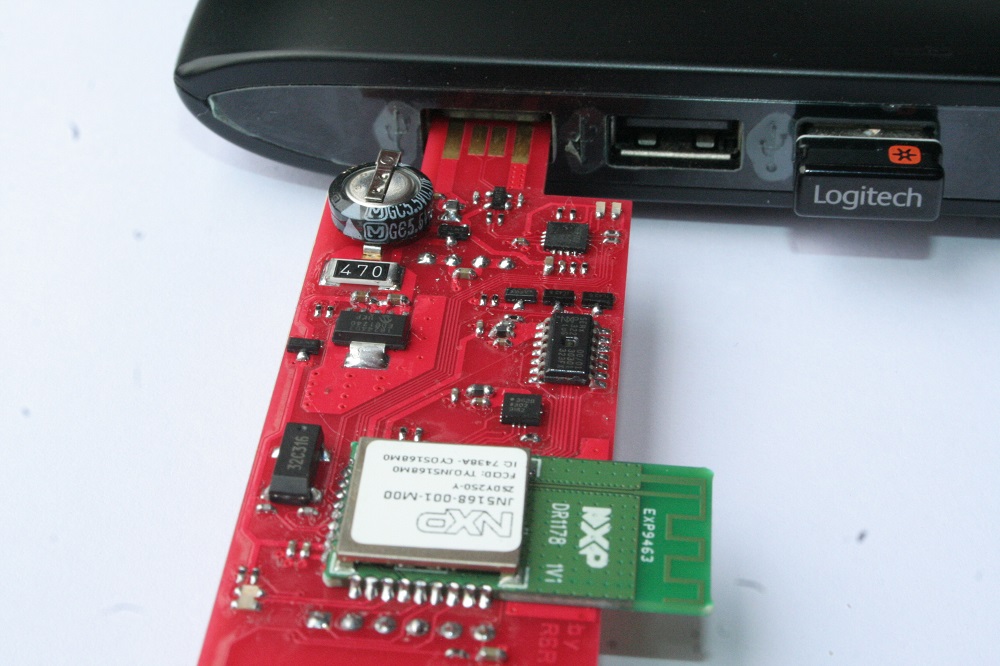
with USB type-A extension cable
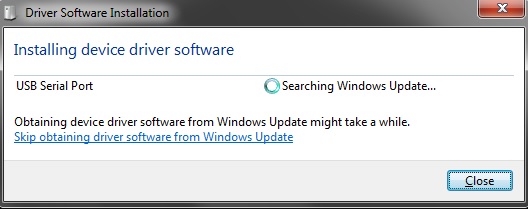
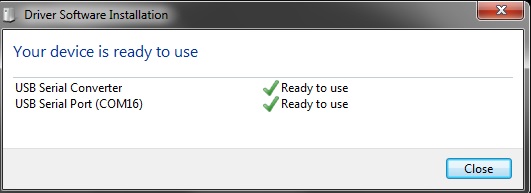
Wait for properly USB dongle driver installation
When drivers are ready you can connect one or more Rialto Board (at least two for firmware evaluation)
Tip
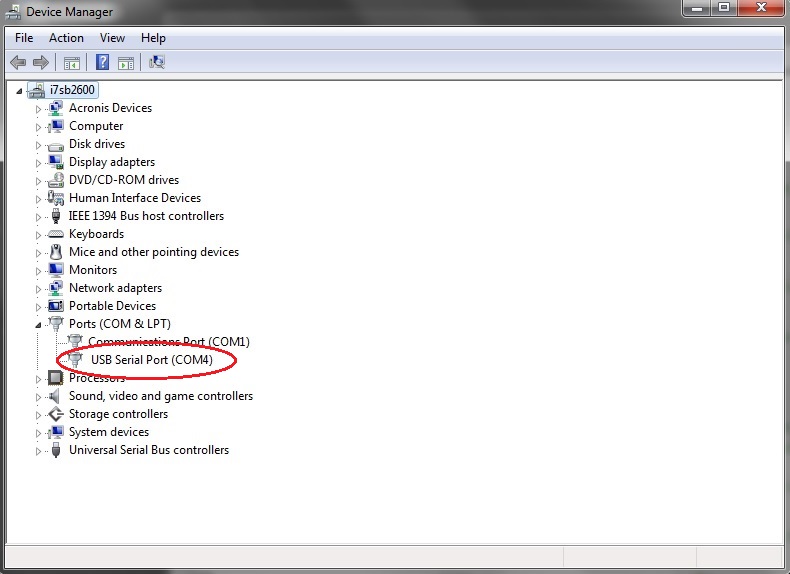
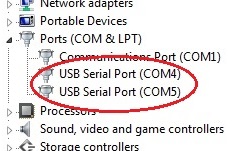
Connecting two Rialto Board (minimun number for full firmware evaluation), take care at COM number installed on your PC
SerizII plugin
Rialto board has in bottom layer two strip (6 and 4 way) and can be used as a plugin for SerizII.

Important
Before using Rialto boards as SerizII plugin, you must download and install the proper firmware revision of the SerizII board (SerizRialto.zip). For all instruction and information about, see at Silica SerizII
Take care plugging Rialto on SerizII: be shure that both boards (Rialto and SerizII) are power off before!!
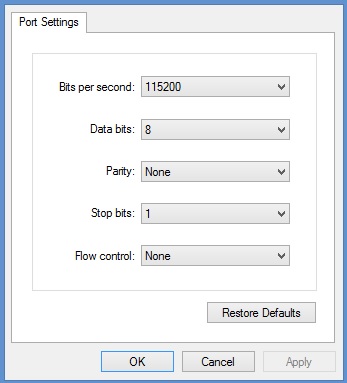
HyperTerminal settings
Set your HyperTerminal COMx parameter:
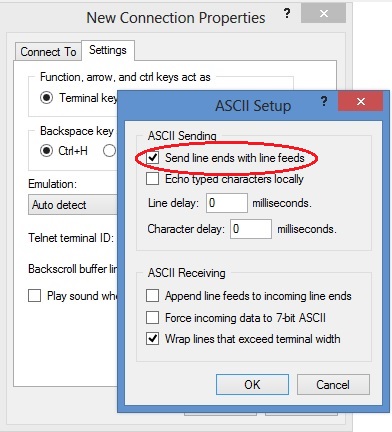
In Ascci Setup windows, check “Send line ends with line feeds”
Rialto Board FW installation & setup
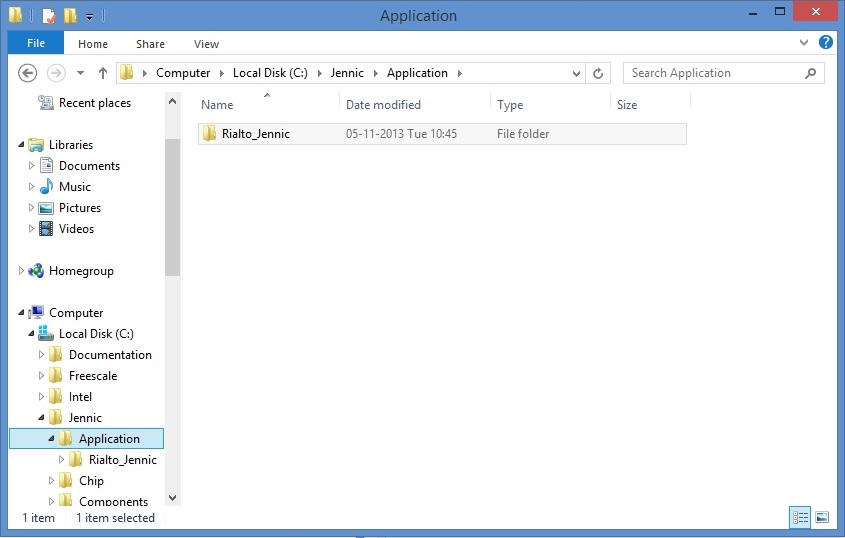
- In the folder C:\Jennic\Application create new folder named Rialto_Jennic
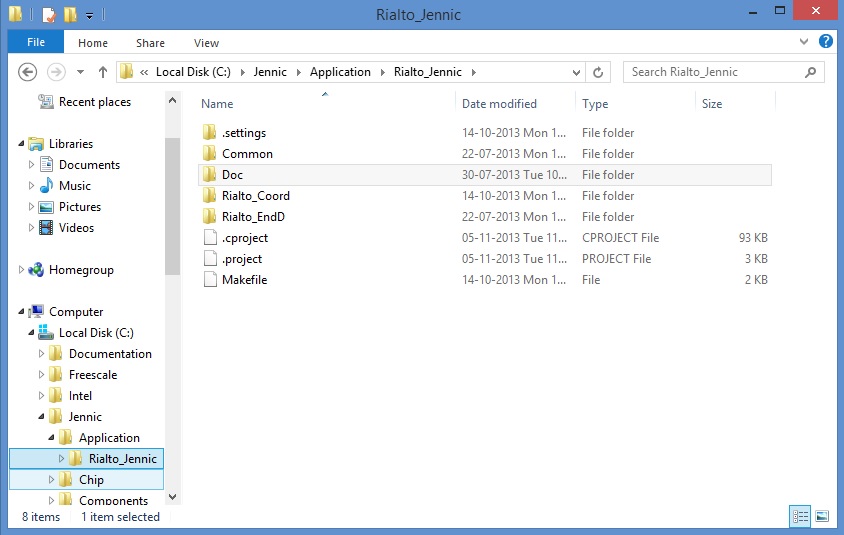
- Unzip all files from Rialto_Jennic_1_0.zip into the folder C:\Jennic\Application\Rialto_Jennic just created
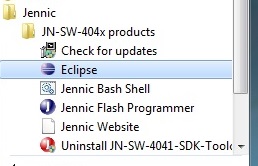
- Go to Start –> Jennic –> JN-SW-404x products –> Eclipse and click on to start Jennic Eclipse
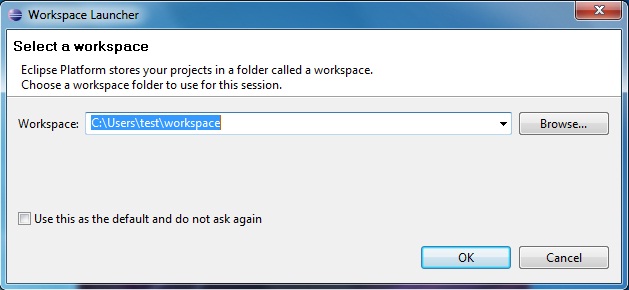
- Check if workspace setting is like figure below. Then click OK to proceed.
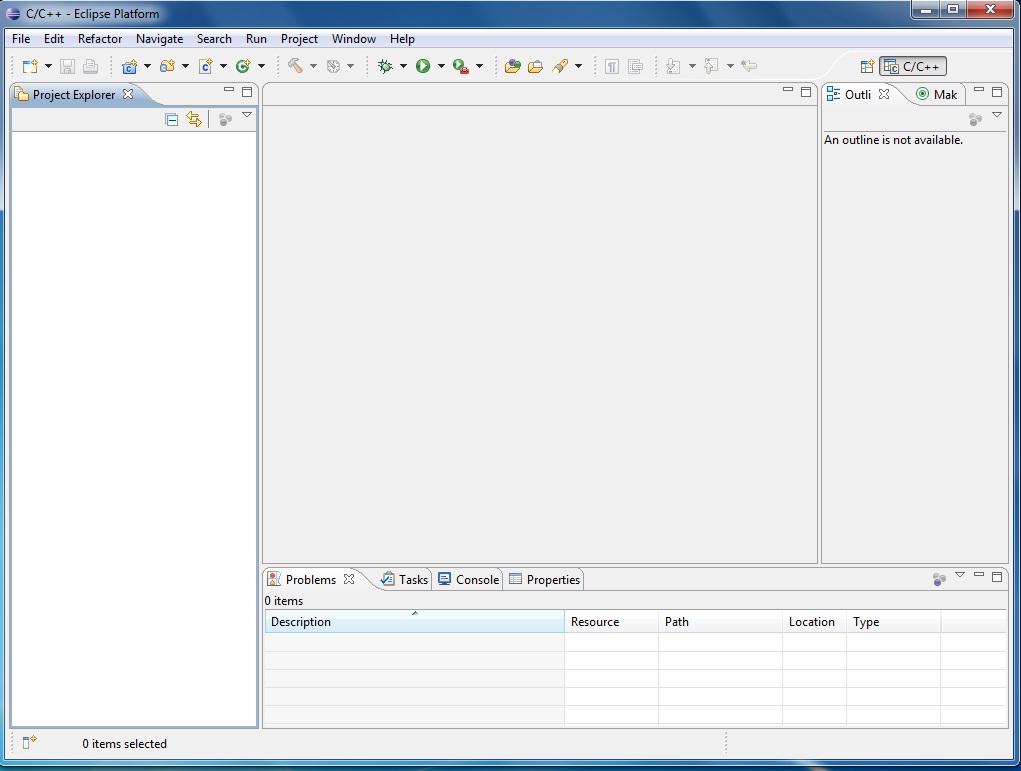
- Now you can see the Eclipse Main Window
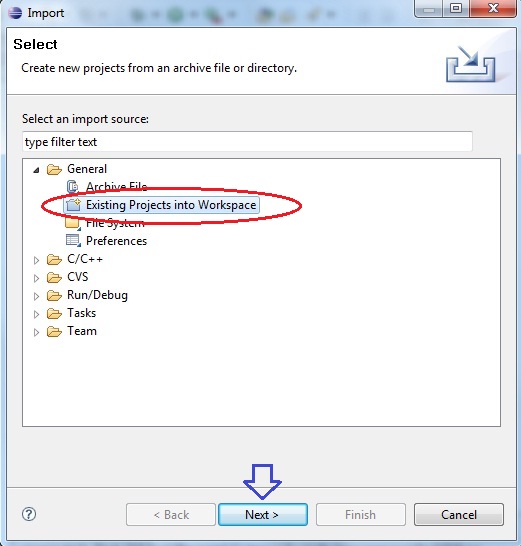
- Select menu File –> Import

- In the dialog box that will open, click on General, select Existing Projects Into Workspace and after click “Next” button: new dialog will open.
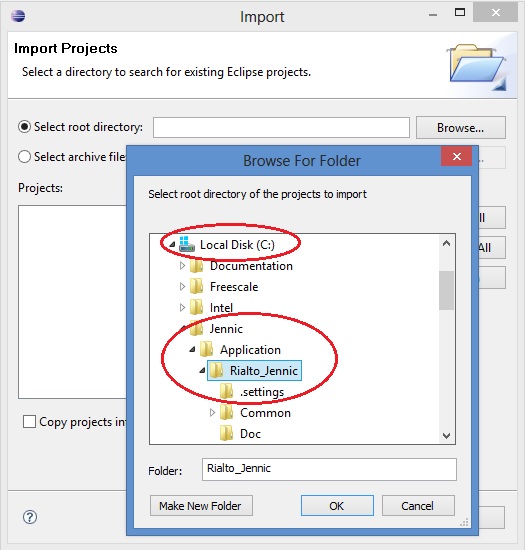
- Click on “Browse...” button an navigate to C:\Jennic\Application\Rialto_Jennic folder. Click on “OK” button
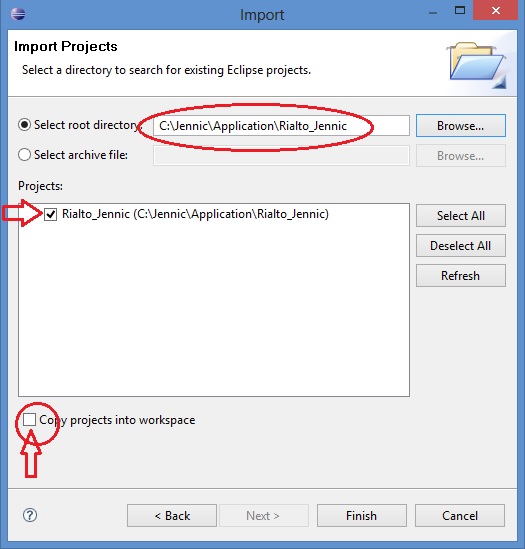
- Check options and setting as the image below, then click “Finish” button to import project.
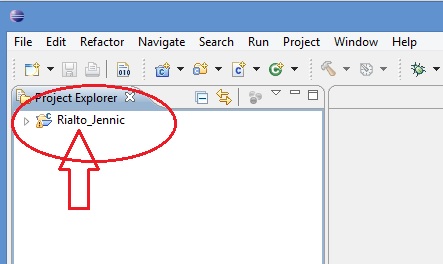
- Wait for project import, then you can see Rialto_Jennic project in the Project Explorer windows of Eclipse Platform.
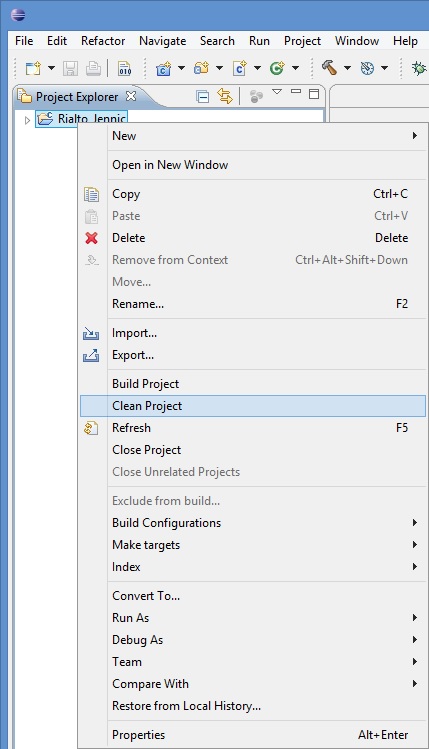
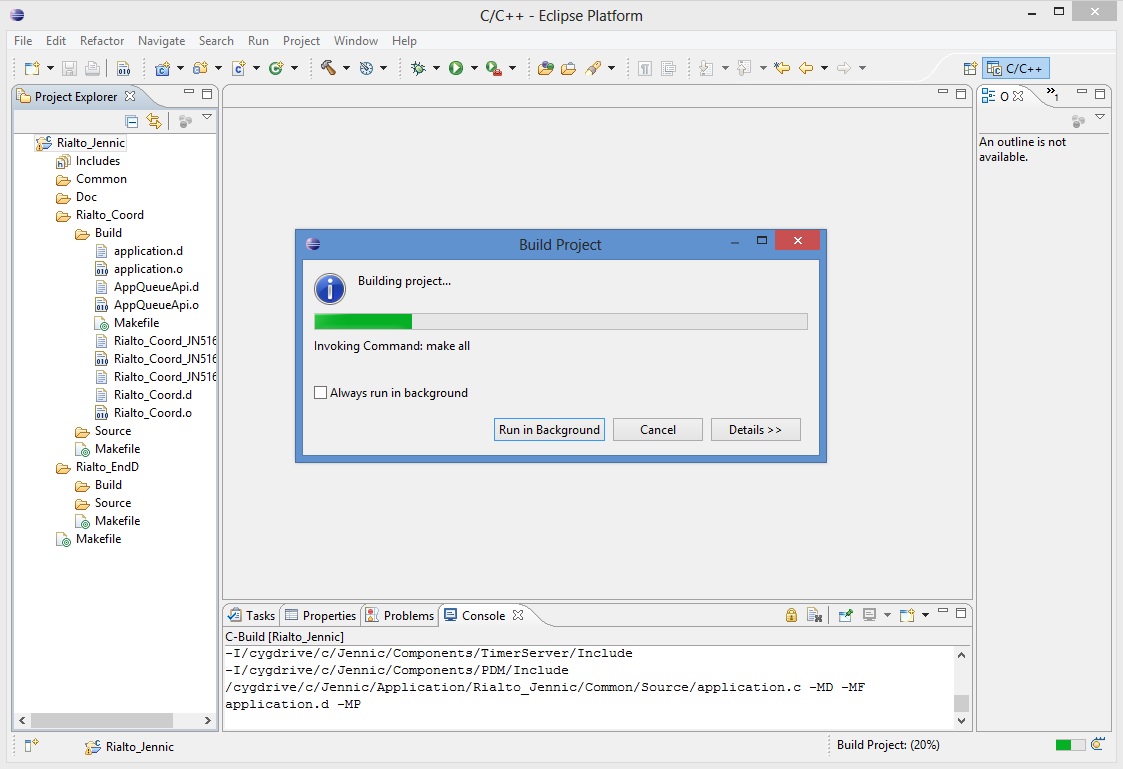
- First of all, right click over “Rialto_Jennic” in the Project Exporer window, then select “Clean Project”. After cleaning, a first build will start automaticaly
- Take care at image above. Expand project, and see at “Console” tab: you can find a log that ends with “Generating binary .... Rialto_Coord_JN5168.bin”
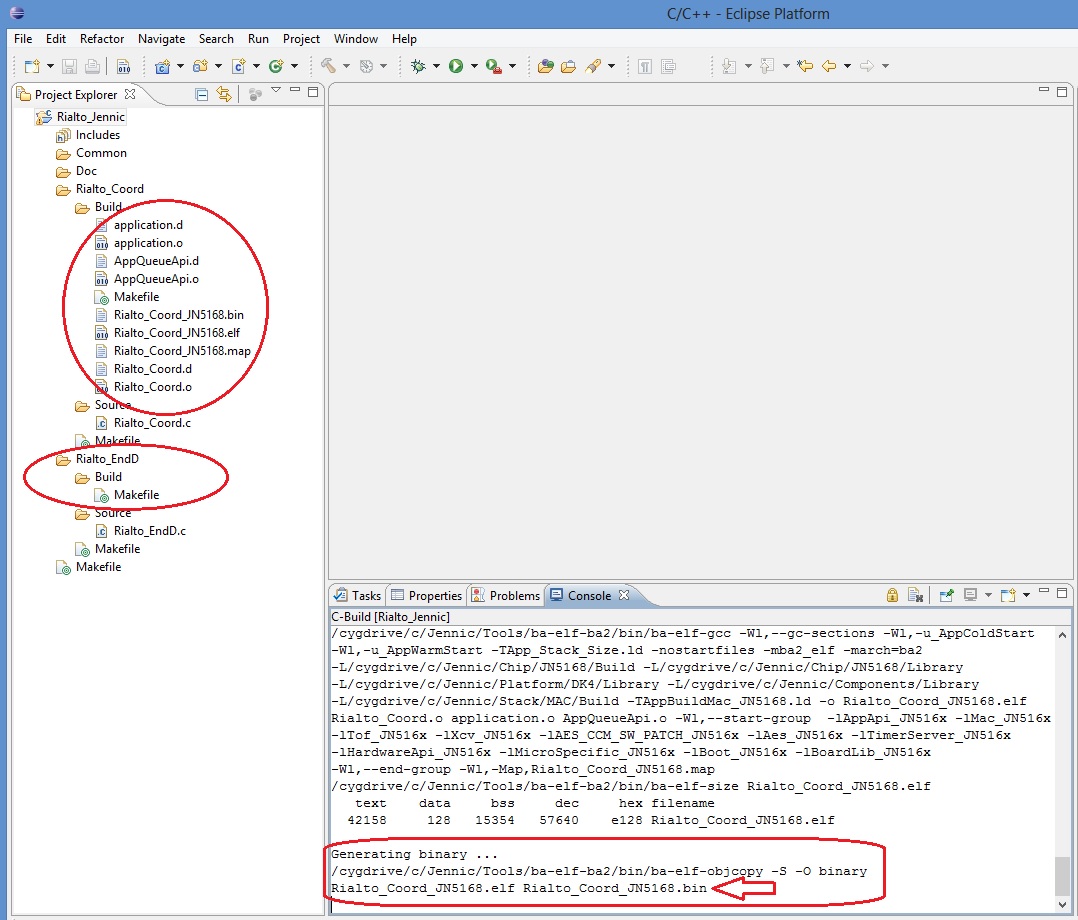
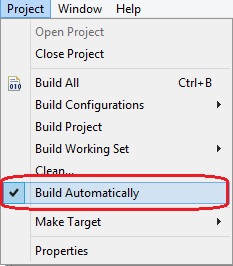
Tip
If you can’t see in the “Console” tab the message above, make shure that “Build Automatically” option (inside “Project” menu) is set
Note
The binary file for Coordinator has been generated and ready for Rialto Board programming
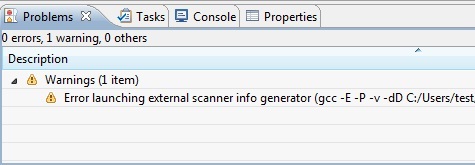
Tip
don’t care if you have this warning (see Problems tab).
- Now you can build End_Node project. Click on drop-down arrow next to Hammer Icon (blue circled in image below)
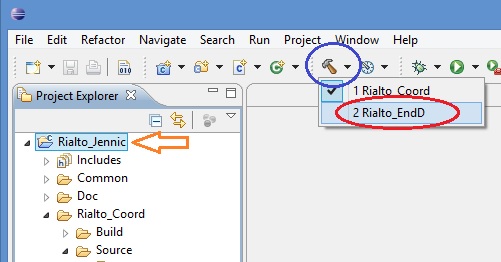
then click on “Rialto_EndD”. Build will start.
- When build has finished, in the Project Explorer tab expand Rialto_Coord and Rialto_EndD Build folders. The result in image below.
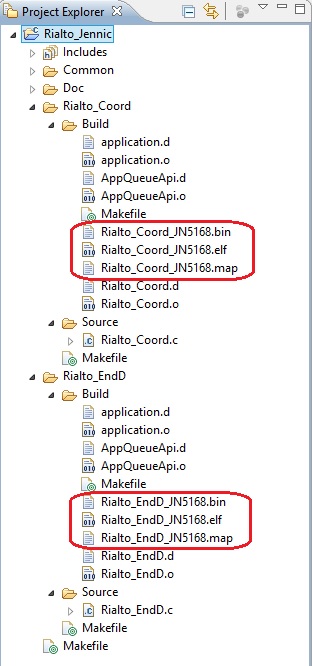
You have built the two binary files and you are ready for program Rialto Board
Programming Rialto Board with Flash GUI Tool
Before starting Flash GUI programmer tool, you must connect Rialto Board whit built-in USB dongle. Please refer to Hardware Setup chapter on this document to check connection
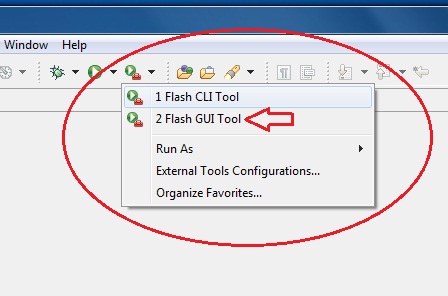
- Flash Gui Tool can be accessed by clicking on the drop-down arrow next to Tools Symbols on the toolbar, then selecting “Flash GUI Tool”
Dont’t care of error in Console tab: no troubles or malfunctioning will be affect board program!

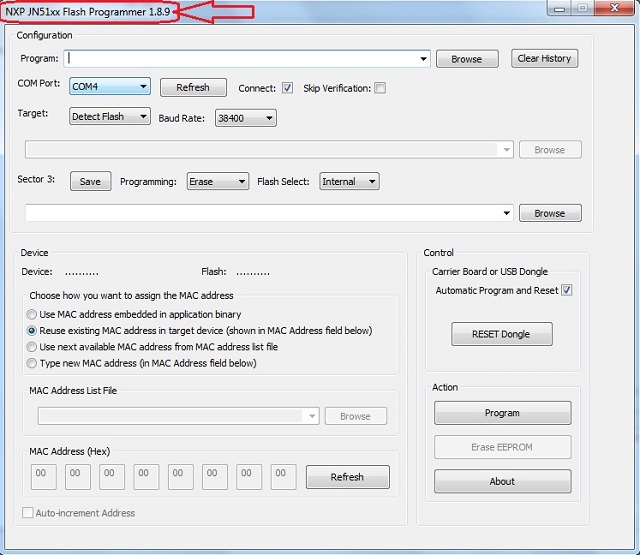
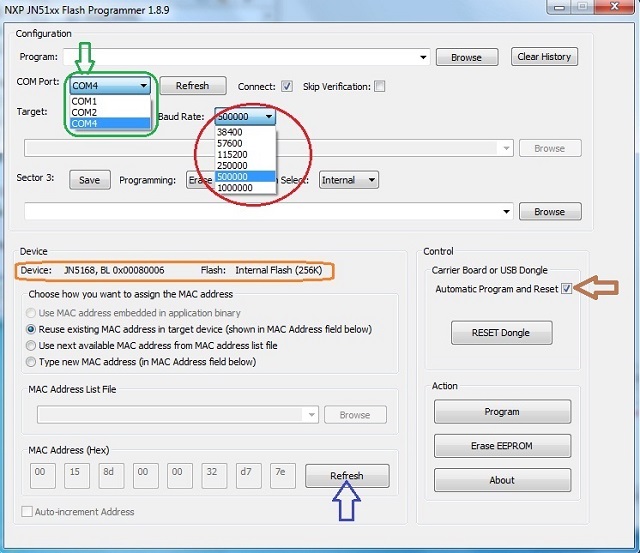
- See at Flash GUI windows: check if version is 1.8.9. If not, refer Upgrading Flash GUI tool (for JN5168) on Installing Jennic Developement Suite guide
Note
Take care at COM port: if it’s already busy with other applications (such as HyperTerminal), you cannot find it in COM port dropdown menu of Flash GUI Tool
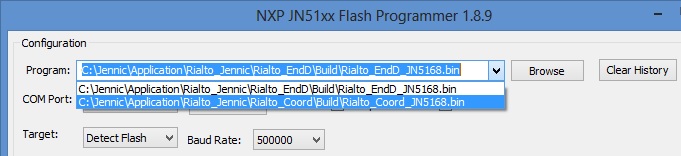
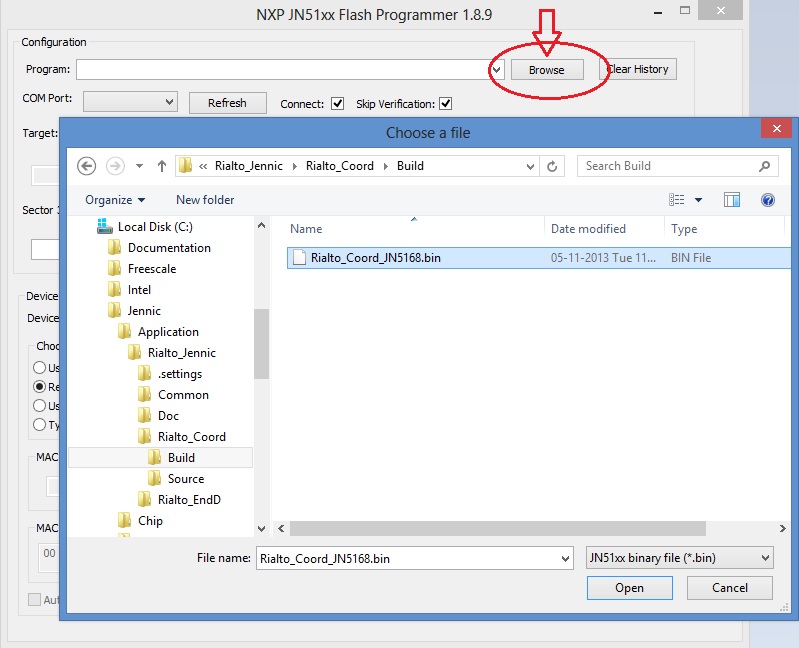
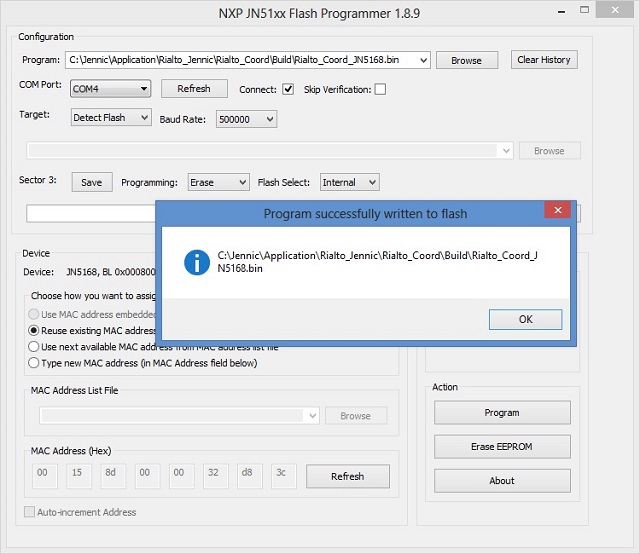
- Step 2: click “Browse” button red circled, navigate to C:\Jennic\Application\Rialto_Jennic\Rialto_Coord\Build and select bin file “Rialto_Coord_JN5168.bin”. Then click “Open” button.
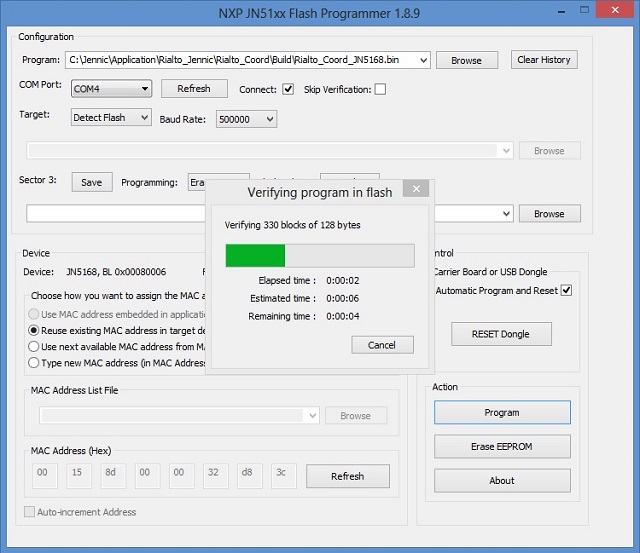
- Step 4: wait for verifyng...
- Step 5: Click “OK” button and board will reset and start.
Tip
To program End-Node, repeat from step 2 but navigate to C:\Jennic\Application\Rialto_Jennic\Rialto_EndD\Build and select “Rialto_EndD_JN5168.bin” When you have programmed even Coordinator that End-node, you can select FW binary by clicking the drop-down arrow (red circled in image below) and select from drop-down menu