Installing Jennic Developement Suite

This small guide is intended to explain the main steps to properly install the Jennic SDK Toolchain.
As possibly not shown here, refer to the document JN-UG-3064.
All steps here described are performed with WINDOWS 7 OS

First step

Unpack the file ‘Install.zip’ that you have downloaded You must find these files:

_images/install.jpg

Then, you are ready for Jennic Developement Suite setup.

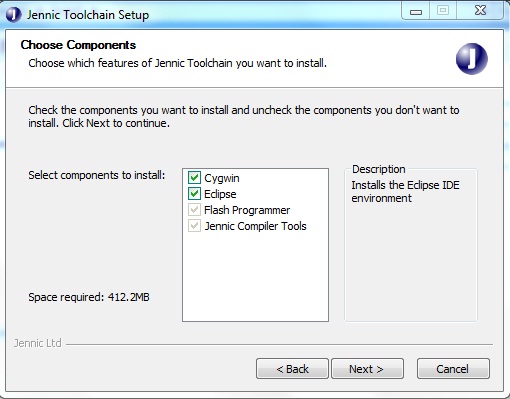
Installing Jennic Toolchain JN-SW-4041

Double click on JN-SW-4041-SDK-Toolchain-v1.1.exe.
Leave unchanged all default setting in the following dialog box.
When appear verify checkbox selection as image below
_images/setup_1.jpg

During installation, if you don’t have Java Runtime on your PC, this popup will appear:

_images/setup_2.jpg

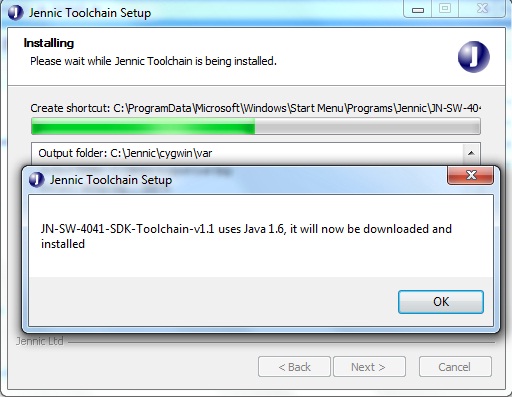
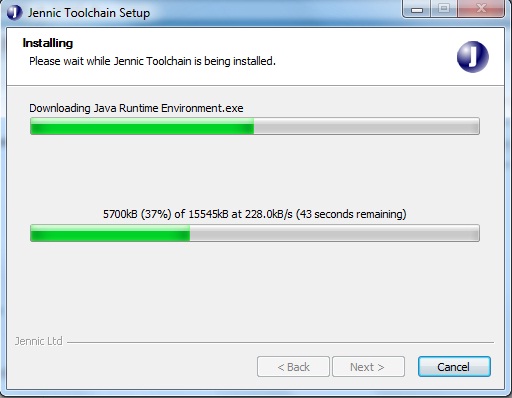
Click OK button and proceed following Java Installer instructions

_images/setup_3.jpg

When installation ends, the followiong will appear:

_images/setup_4.jpg

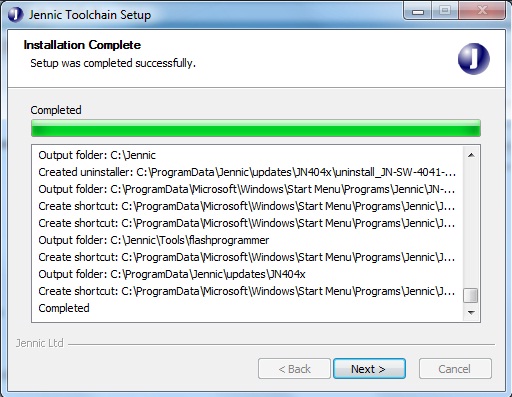
click “next” button, and setup will ask you to perform a system restart

_images/setup_5.jpg

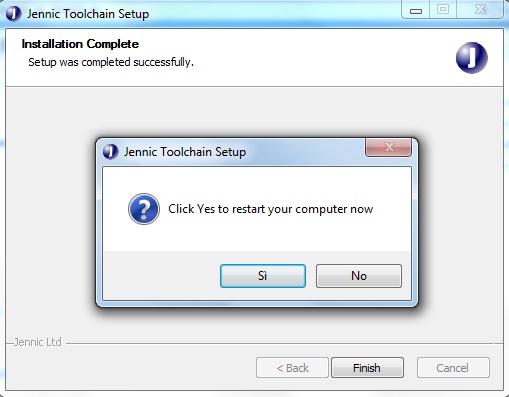
click “OK” and wait for restart

Installing JN-AN-4065 library

Double click on JN-SW-4065-JN516x-JenNet-IP-SDK-v857.exe.
Leave unchanged all default setting in the following dialog box.
When appear verify checkbox selection as image below, then click “Next”
_images/lib_1.jpg

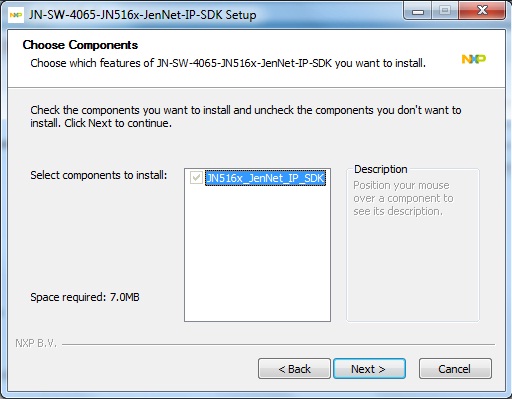
When library installation has finished, Jennic Toolchain is ready to start

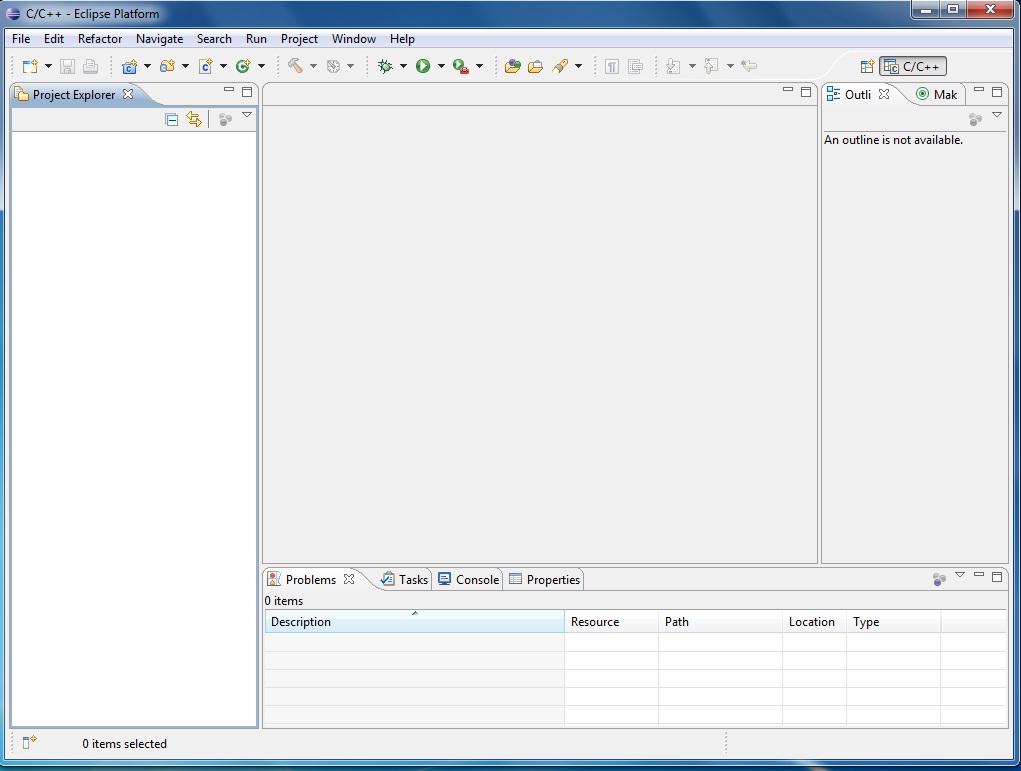
Starting Jennic Toolchain

Open Start and go to Jennic –> Eclipse (as show in figure below)
click on Eclipse to start program
_images/start_1.jpg

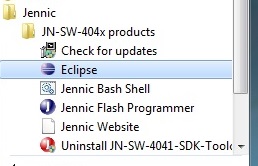
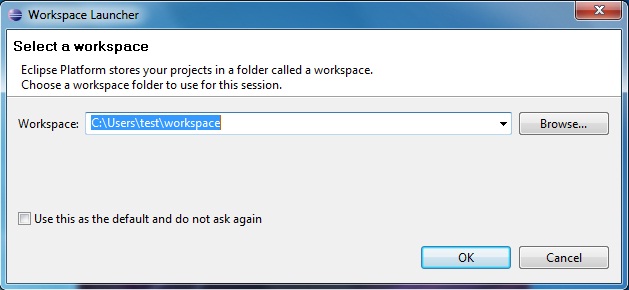
Jennic Toolchain will ask for workspace. Leave unchanged an click “OK”

_images/start_2.jpg

Jennic Eclipse will open Welcome tab.

_images/welcome.jpg
Close Welcome tab by clicking on X red circled in figure above
Now the Jennic Eclipse main window will appear
_images/screen_1.jpg

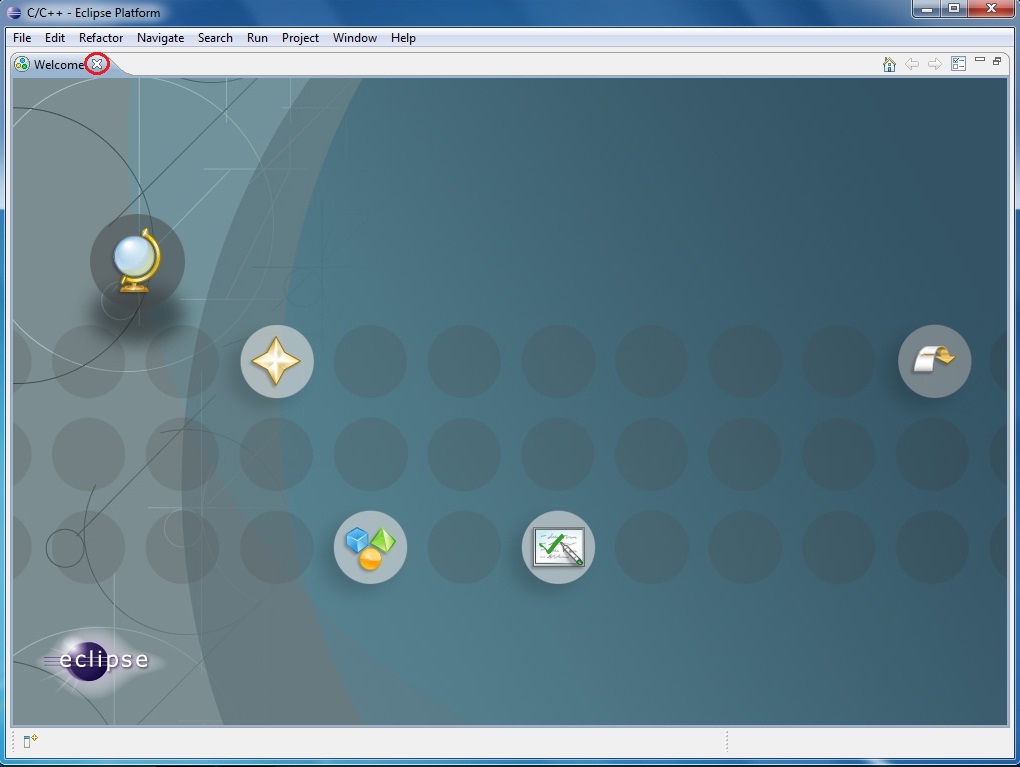
Close Eclipse and proceed with next steps.

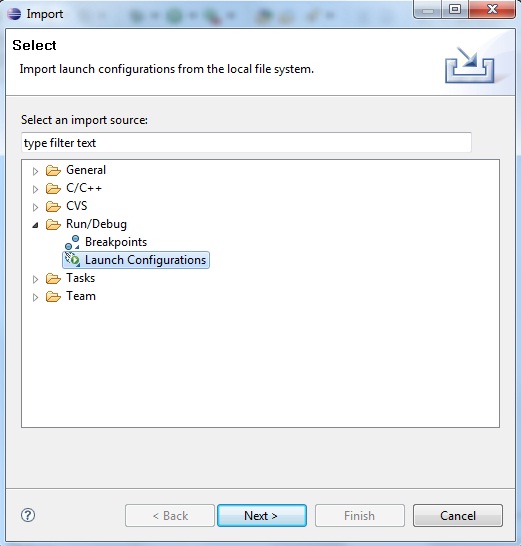
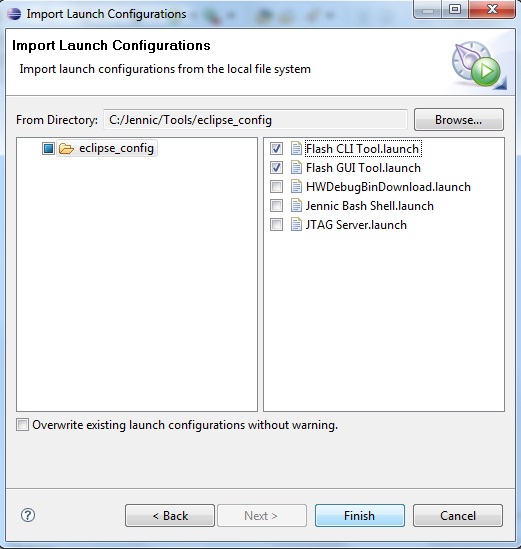
Installing Flash GUI Tool Programmer

In order to complete developement suite setup, you must install Flah Programmer as a external tool.
Open file menu, and select “Import”
_images/import_1.jpg

chose “Run/Debug –> Launch Configurations and click “Next” button

_images/import_2.jpg

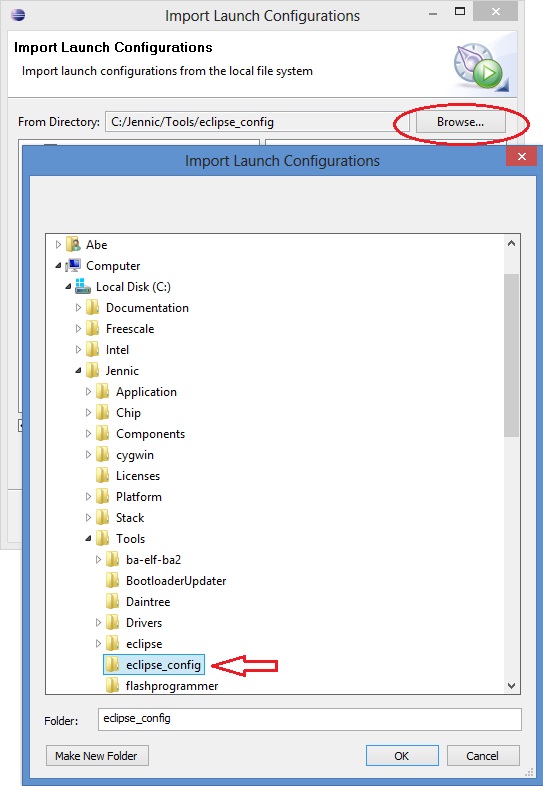
click “Browse” button and navigate to C:\Jennic\Tools\eclipse_config and then click “OK”

_images/ext_tools_folder.jpg
Sign “Flash GUI Tool” and “Flash CLI Tool” checkbox
Please, note that Eclipse default is all tool checked, but as actual for JN5168 application only the two Flash tool are needed.
_images/import_3.jpg
Click “Finish” button to perform Flash Tools setup.
When finished, you can find the tools in the Run–>External Tools menu
They can also be accessed from the drop-down arrow next to the tools symbol, as show in figure below
_images/tools_1.jpg

Upgrading Flash GUI tool (for JN5168)

We must upgrade Flash GUI tool to release 1.8.9, because the tool just installed does’n work with JN5168.
To make this, unpack the zip file JN-SW-4007.zip into new folder and navigate to Tools\FlashProgrammer located inside this new folder.
you can find the JN-SW-4007 file inside Install.zip as show in First step chapter on this document
_images/flash_update_2.jpg
Select all files, right click an copy.
Open folder C:\Jennic\Tools\flashprogrammer and paste all file inside this folder.
_images/flash_update_3.jpg

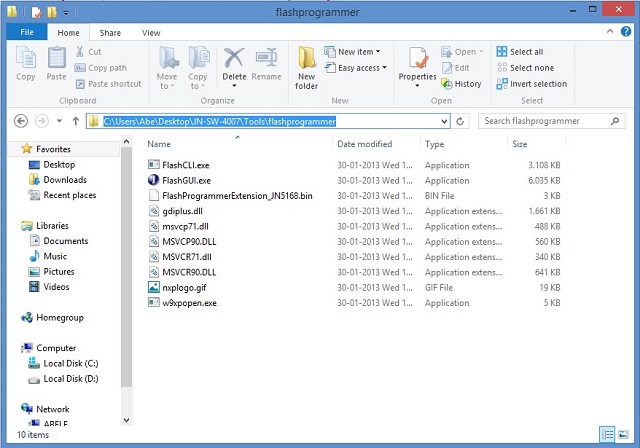
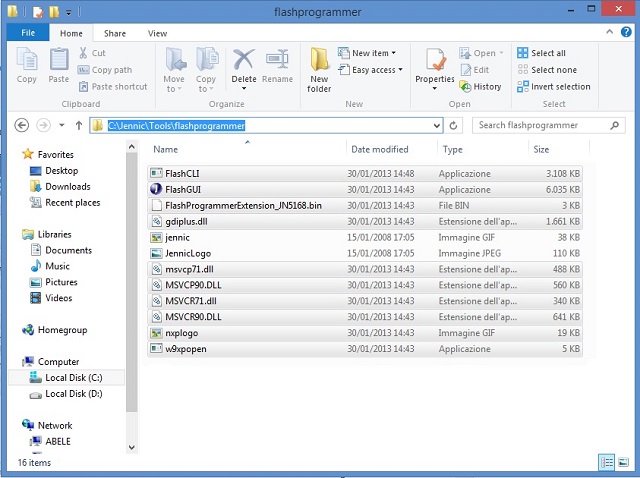
Now Jennic Eclipse setup is complete and the suite is ready for work with Rialto Project!


WINXP TROUBLESHOOTING

INSTALLING DRIVER FOR USB DONGLE

With some release of Windows Xp, you must manually install the USB drivers of the Rialto board.

_images/winxp.png

In this case, go to FTDI driver page download and install Windows driver.

CYGWIN1.DLL TROUBLES WITH WINXP

Jennic SDK Toolchain install CygWin API inside the folder C:\Jennic\cygwin.
Some XP installation have the file “cygwin1.dll” inside C:windowssystem32 folder.
This is a cause for fatal error during project building.
If it occours, build fails and on the “Console” tab of the Jennic Eclipse you can see one or more messages as follow:
290 [main] ? (680) c:\Jennic\Tools\ba-elf-ba2\bin\ba-elf-gcc.exe: *** fatal error - cygheap base mismatch detected - 0x611668E0/0x611688E0.
This problem is probably due to using incompatible versions of the cygwin DLL.
Search for cygwin1.dll using the Windows Start->Find/Search facility
and delete all but the most recent version.  The most recent version *should*
reside in x:\cygwin\bin, where 'x' is the drive on which you have
installed the cygwin distribution.  Rebooting is also suggested if you
are unable to find another cygwin DLL.
To solve this trouble with Jennic Eclipse Builder, we suggest to try to remove file “cygwin1.dll” located inside folder C:\Windows\system32
We suggest to rename the file in your system folder and check if there are no other troubles
Be careful if you have other applications that use cygwin!! Removing file from OS system folder must be checked before.
For more detail and further information regarding cygwin, you can visit the cygwin site.
For further information about this trouble, click here .